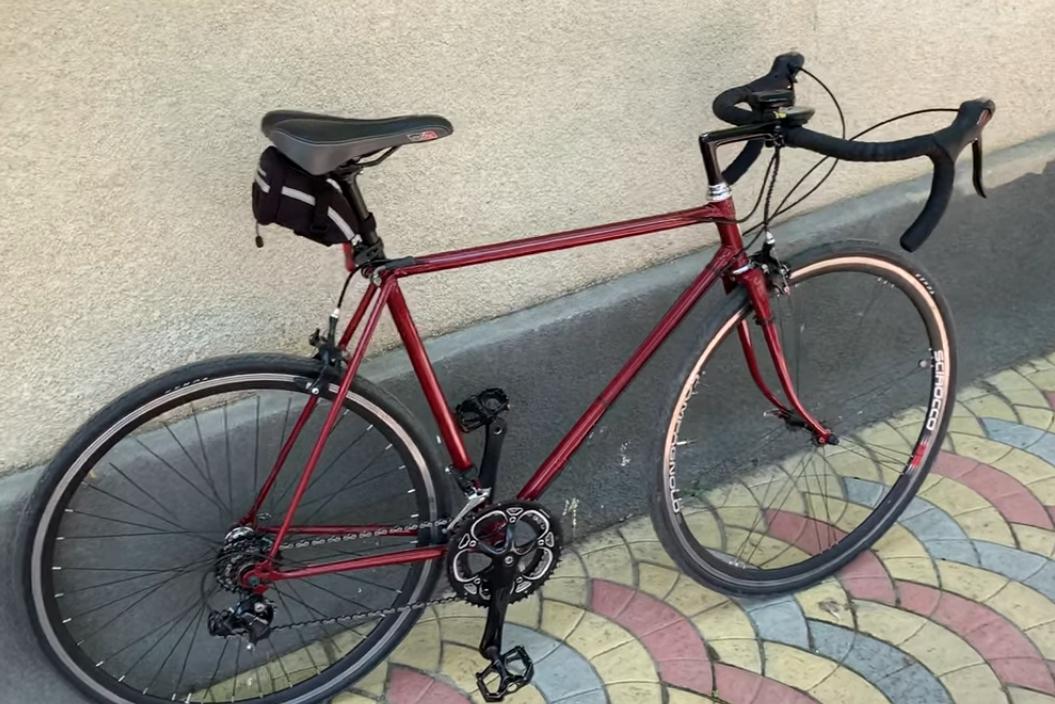
Among enthusiasts, a simple and budgetary way to get a good bike is popular - upgrading the Start Highway model of Kharkov production. It is inexpensive, as for additional costs, it all depends on the selected kit. You can invest even 10 rubles, and if you put a high-quality groupset from Shimano, then the costs will increase by 000-3 times.
Choosing and finishing the frame
If a bike will be purchased for the project, this section will help you choose the best option and take into account all the important points. When you already have a bike, it is better to check it according to the parameters described below in order to decide whether it is worth working with it or it is better to choose another one, buy a frame really at a price of 1 to 3 thousand rubles.
First of all, you should check the fit of the lower cup of the steering column. If it can be easily inserted by hand and shaken in the seat, it will not work normally to clamp the knot and it will hang out. In this case, it is worth looking for an option without working out, because of such a flaw, other parts of the system will begin to break. Some try to fix the problem by welding and turning, but this is difficult and not always effective.
 If the cup dangles, it will not work properly to fix the steering column. Photo: youtube.com
The seat on the fork should be flat, this applies to the bottom. There may be wear from intensive use with no maintenance. The problem is easy to identify by touch.
 There should not be any production at this place. Photo: youtube.com
Be sure to inspect the thread at the top. Some people drive for a long time with the steering wheel not fully clamped, because of which it breaks and “licks off”. If the damage can be repaired by updating the turns with a die of a suitable size, then the lack of a thread cannot be compensated for. With a plug, everything is easier for the reason that it can be replaced.
 The thread must be without major flaws. Photo: youtube.com
Another important point is the dropout of the front wheel. In the manufacture of parts in Soviet times, fasteners were often welded at an unequal level, which is why they were crooked. When the problem was discovered, you need to modify the seat with a file.
 You can make the dropout deeper with a needle file. Photo: youtube.com
As for the rear dropout, it can be bent or deformed, which is undesirable, as it is easy to break when aligned. This part should be edited very carefully, using wooden spacers.
 The rear dropouts are most often unbent, it is better to trim them carefully. Photo: youtube.com
Check the frame geometry, pay special attention to the steering column. If it is bent, manual alignment will be difficult. Also check the alignment of all large nodes. The deformation is visible to the naked eye.
 The front of the frame must not be turned out to the side. Photo: youtube.com
The bridge under the rear brake mount flattens, deforms or cracks over time. It can usually be fixed, but sometimes a new element has to be welded in.
 The bridge must also be checked. Photo: youtube.com
Be careful with repainted frames, under the coating there may be damage, putty or even mounting foam, which filled areas heavily pitted with corrosion.
The distance between rear dropouts on modern bikes is 130mm. In the Start Highway, the standard was 120 mm, but in different frames it ranges from 115 to 125 mm or more. It depends not only on the size of the installed mechanism, but also on the deformations that the bike was subjected to during operation.
 Be sure to measure the distance between the rear dropouts. Photo: youtube.com
Two wooden blocks should be used to align the back and correct the geometry. With their help, you can gently and gently bend the elements, eliminate irregularities. The main thing is to do the work carefully so as not to overdo it.
 With simple bars, it is easy to bend the frame and expand the seat. Photo: youtube.com
The last part that needs attention is the carriage. Most modern bikes use an English thread 1.37"x24 tpi, which does not match the standard thread. It must be cut with a special tap as in the photo or using a standard version with suitable parameters. Simple square bottom brackets can be screwed in as is, but this is undesirable.
 The thread in the carriage must be corrected. Photo: youtube.com
The bushing width on the Kharkov frame is 70 mm, while the standard size of modern equipment is 68 mm. It is easy to trim it with a grinder or file. It is worth making sure not to remove the excess, this is the only requirement.
 You need to trim the edges carefully. Photo: youtube.com
Other structural elements
The main advantage of self-finishing the KhVZ bicycle is the ability to change nodes not immediately. This will avoid big expenses by installing parts gradually.
Wheels can be left standard or put modern. A 28-inch option will do, you can buy it at any bike shop. The main thing is to use road rims with a small width, no modifications are required. The front wheel becomes as it is, and for the rear you need to expand the frame, as described above.
As for the brakes, they can be installed with minor alterations. The standard assembly was attached with a 6 mm stud and nut. New options are fixed due to the threaded part and the cap nozzle, which is called a bong. To put the mechanism in front, you need to drill the rear hole in the fork by 8 mm. You will need a screwdriver with a drill bit for metal of a suitable size.
 On the rear side of the fork, the hole must be expanded to 8 mm. Photo: youtube.com
The back is more difficult. The brake mount there is made through a jumper of small thickness and two aluminum spacers. To install a new unit, you need to turn the elements to order, any turner can turn it, it is easiest to use old parts as a sample.
It is better to make spacers larger in diameter by 2-3 mm, in the rear part the hole should be 6 mm, as in the standard, 8 mm is drilled from the side of the frame in the washer and in the jumper.
 This is what the new rear brake pads look like. Photo: youtube.com
Access to the hole is difficult; drilling should be done with a special curved drill or a hand wrench.
When installing a new mechanism, the shifter is transferred from the frame to the steering wheel, which will require alterations. This applies primarily to the place where the gearshift elements were previously located, where it is necessary to put stops for the cable jacket. For this, an old clamp is suitable, first you need to remove the levers from it, and then knock out the washer, which is pressed in at the factory. To do this, the assembly must be placed in a vice and hit the nut several times, into which the screw is pre-twisted, it will protect the thread from damage.
 This washer must be carefully knocked out. Photo: youtube.com
Put ready-made stops on the prepared collar, which can be found in bicycle stores, but they are rarely sold on sale. They cost from one and a half to 2,5 thousand, if you order them on Aliexpress, you can save from 30 to 50%. Installation is simple: put on the element and fix it with a screw on the same nut that held the coins.
 The emphasis is simply put on a regular place and fastened with a screw. Photo: youtube.com
Another place that needs attention is the jumper near the large sprocket switch. An 8 mm hole is drilled in it from the bottom side so that the cable shirt enters and rests, and 3-4 mm is enough from above. Then the system will pass under the carriage and neatly fall into place. The only remark is that the holes must be moved closer to the sprocket, as shown in the picture.
 This is how you need to move the holes in the bottom jumper. Photo: youtube.com
It is better to use a brake jacket everywhere, this will ensure smooth shifting.
The seat can be changed upon request. It is recommended to choose a modern model, this will give more comfort when driving.
 Modern seats are much more comfortable than the old ones. Photo: youtube.com
The steering wheel can be both old and new. The steering column should not be changed, it has its own dimensions and it will not work to pick up something. But everything else can be replaced without any alterations. For example, put in a new stem, which will immediately reduce the weight by 0,5 kg and choose a steering wheel that is convenient for you, since the native one can hardly be called comfortable.
 The new stem and handlebar fit on the column without alterations. Photo: youtube.com
Conclusions
It is not difficult to remake the Start Highway when you have the necessary components at hand and 5-6 hours of free time. It is possible to upgrade the bike gradually in order to spend little by little. More often, ready-made groupsets are used, but you can assemble everything separately, this often saves money.